Training: Filming Still Life
Tutor: Sam Hofman
Platform: Domestika
Duration: 3 hours
Would you recommend to a friend? Absolutely! Go for it.
Equipment: Camera Z-cam E2-M4 (4K), lenses, monitor + recorder Atomos, continuous lights Aputure, LED colour light, rotating table, c-stands Manfrotto Avenger, ipad, Lilliput monitor and duct tape!
Software: Photoshop, DaVinci Resolve 18, rotating table control software, LED light control software, Aputure lights control software.
“There are a lot of transferable skills between motion and photography.”
Sam HOFMan
“Dust is the worst enemy.”
SAM HOFMAN
Summary: The change in technology in recent years allows continuous light to be used to set scenes for photography and videography. Cameras can now film and take photos at similar sensitivities while maintaining the desired quality. Creators can deliver product photography and video from one studio.
Notes from Filming Still Life with Sam Hofman (not edited):
- The process of creating mood boards for clients. He sketches out element by element, tracing on the iPad, adding colour, outlining the shape. His way of creating a sketch for photography and video design. Lots of changes and corrections to achieve the desired look. It takes time.
- Don’t give clients photomontages because they will think that these are elements of the final photo. It’s better not to be literal. It’s better to draw freehand, less hassle. For larger projects, you hire professional storyboard artists, but you can do the sketches yourself.
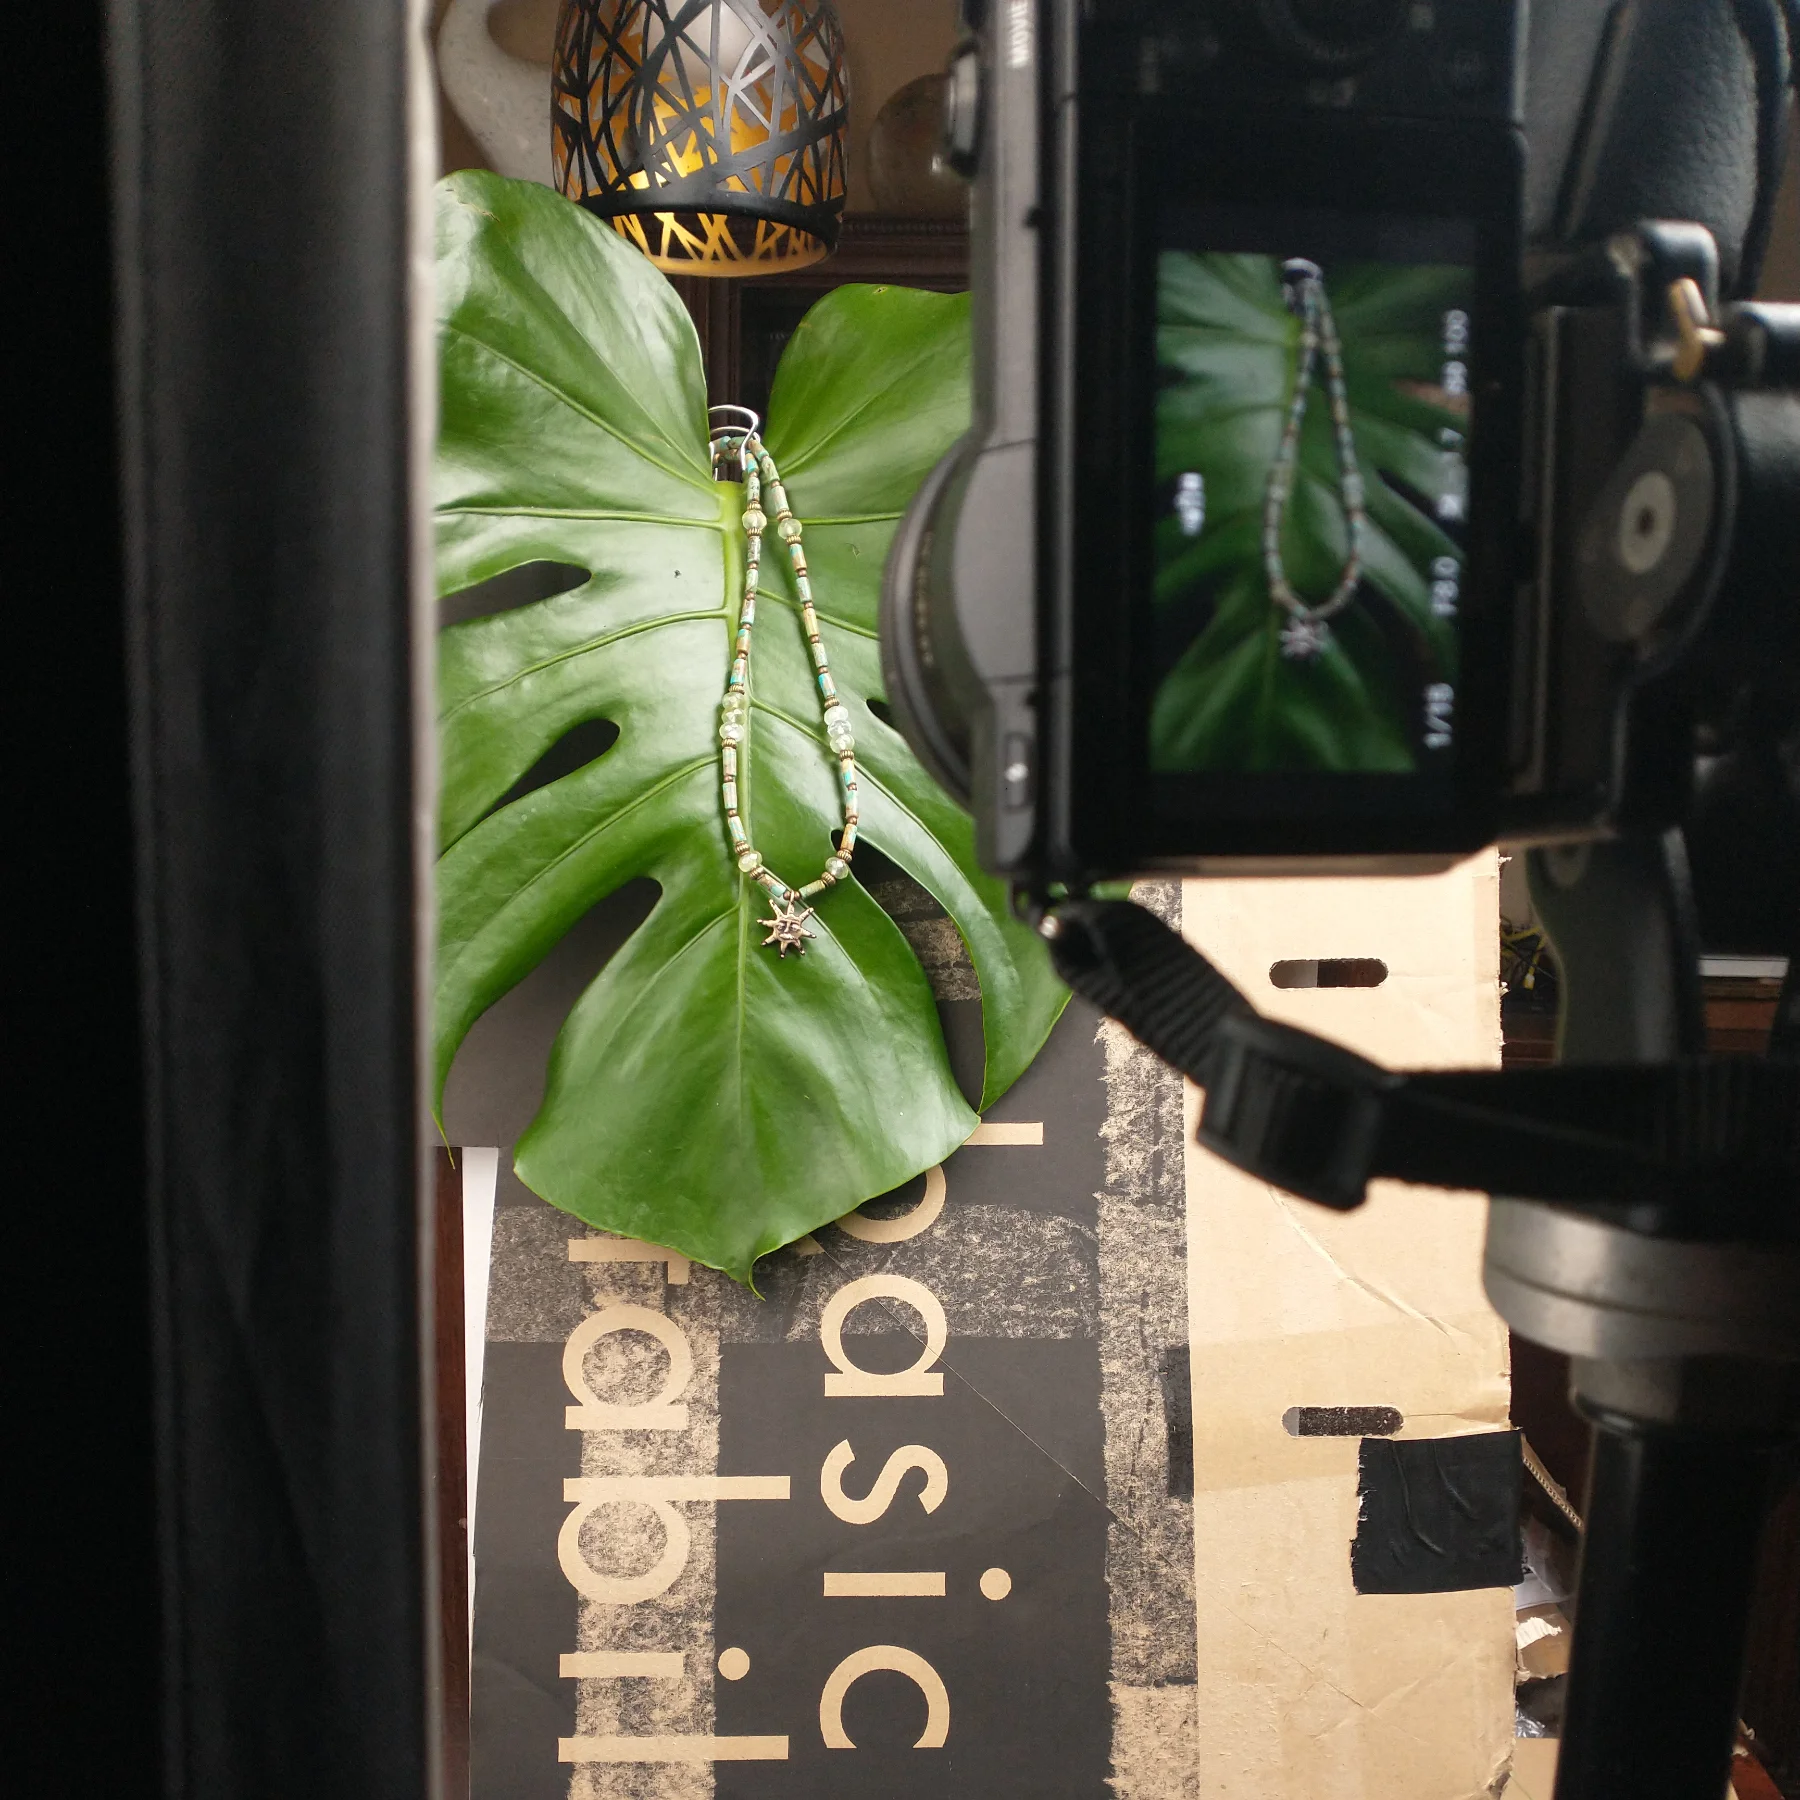
- Studio equipment setup from scratch. Product on tripods to avoid table reflections. Use gloves because dust is the worst enemy. Record raw files on a recorder, it is easier to fix mistakes. Aperture f/8, f/11, sometimes f/22. ISO 800, recording at 50p frame rate to have the possibility of speed ramps. Shutter speed 1/100 (i.e. shutter angle 180 degrees). White balance set for lamps.
- Turn off the studio light and check for ambient light. Use flags to block it. Small LEDs to add colour. Use mirrors.
- Record with different lights on and off. Record 3 rotations to easily match movements in post-production. Make a few rotations to wait until the shaking of the moving object stops.
- Building a narrative. You discover a product in a film. You start with a mystery, gradually reveal the textures and forms of the object, and finally present the full values of the product or brand.
- After a photoshoot and video for a big client, the material is still sent to professional colourists and editors. But it’s worth doing some preliminary editing to give direction and show the effect.
Questions for myself:
- What effects do I want to be able to show in my portfolio?
- What objects interest me?
- What are the characteristics of my style?
Leave a Reply